 |
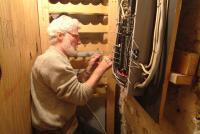
To the left if my friend Eric Marchbein, a registered master electrician,
doing the dirty work in the box. One of the requirements set out by TrendLine
is that you get a registered electrician to work in your box. That's a good
idea, because while 110VAC will give you a nasty shock, 220VAC can kill you. |
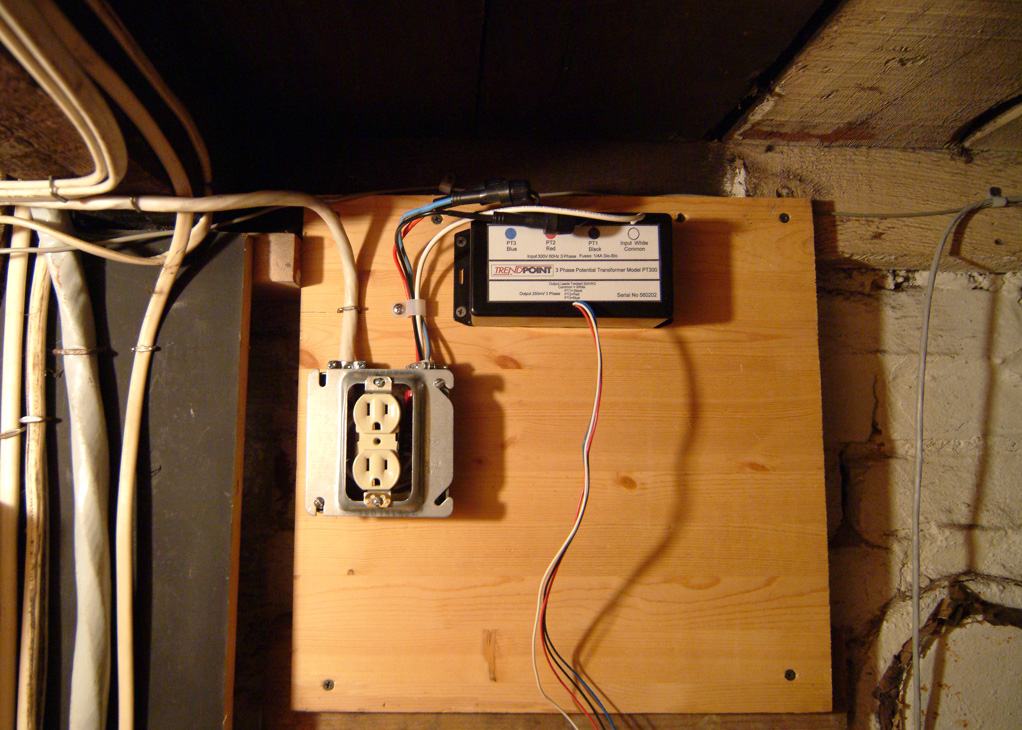
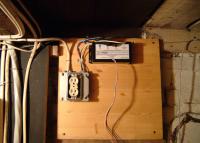
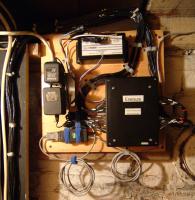
To the right, step 1: mounting the power transformer and an outlet
for the power supplies (one for the Enersure, another for the Digi One SP RJ45
port server). The outlet is 110VAC, but the box also supplies 220VAC
(2-phase) to the Power transformer. The PT can handle 3-phase for industrial
applications. The ethernet cable is to the right – not yet hooked up. |
 |
 |
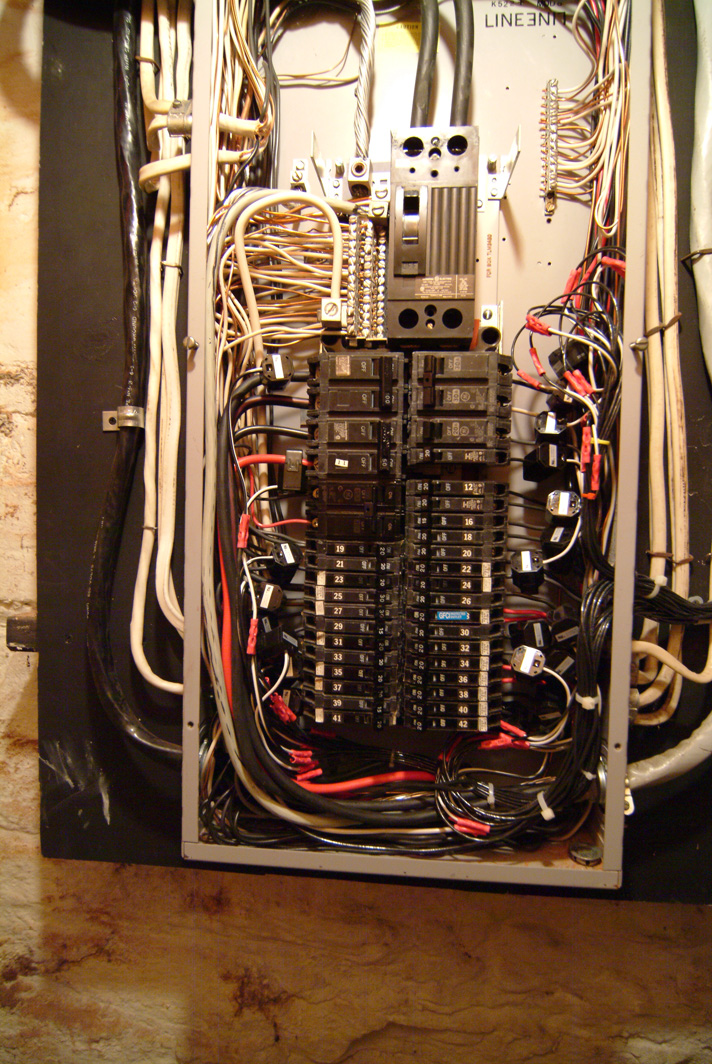
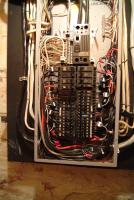
To the left, step 2: installing the current transformers into the
box around the circuits I want to monitor. The wires that come with the
transformers are rather short – we'll have to extend them. |
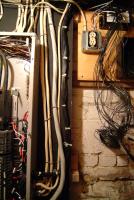
To the right, step 3: extending the leads on the transformers (with
butt splices) and running the wires out of the circuit-breaker box. With 38
circuit breakers in the box, it got pretty snug in there, and I am very glad to
have an experienced electrician to help. All in all, we used about 475 feet
of wire to extend the 22 current transformer leads. |
 |
 |
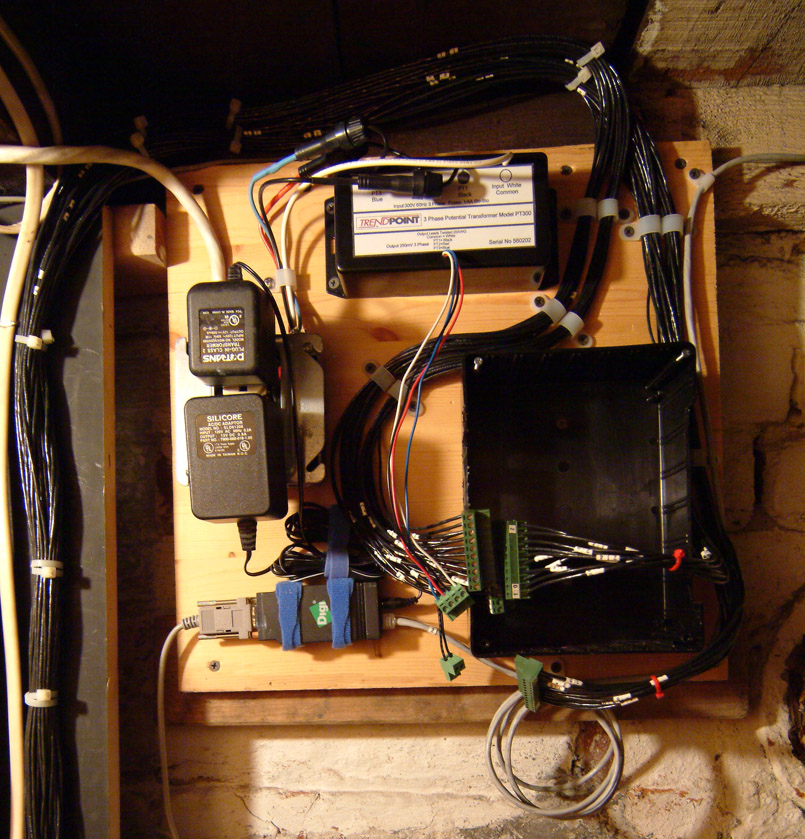
To the left, step 4: neatening things up, and routing the wires to
the enclosure that will hold the Enersure unit. Notice that each wire is
numbered, so we know which circuit they connect to. Ultimately, every wire
will have at least 2 sets of numbers (one initial number, and one close to
the terminal block, the location of which can only be determined as we build
the connector block). |
To the right, step 5: routing the wires to the enclosure, trimming
and attaching them to the screw terminals. Each side of the circuit breaker
box is in a separate bundle, and then each bundle is further divided for each
connector block, allowing me to easily trace any wire after-the-fact.
I used a Digi One SP to connect the Enersure (which is a
serial device) to my ethernet. Digi also sells a mounting bracket to hold
the Digi One, and it lists for around $50. Hah! I used screws to hold two
velcro cable ties (for $0.85) instead! |
 |
 |
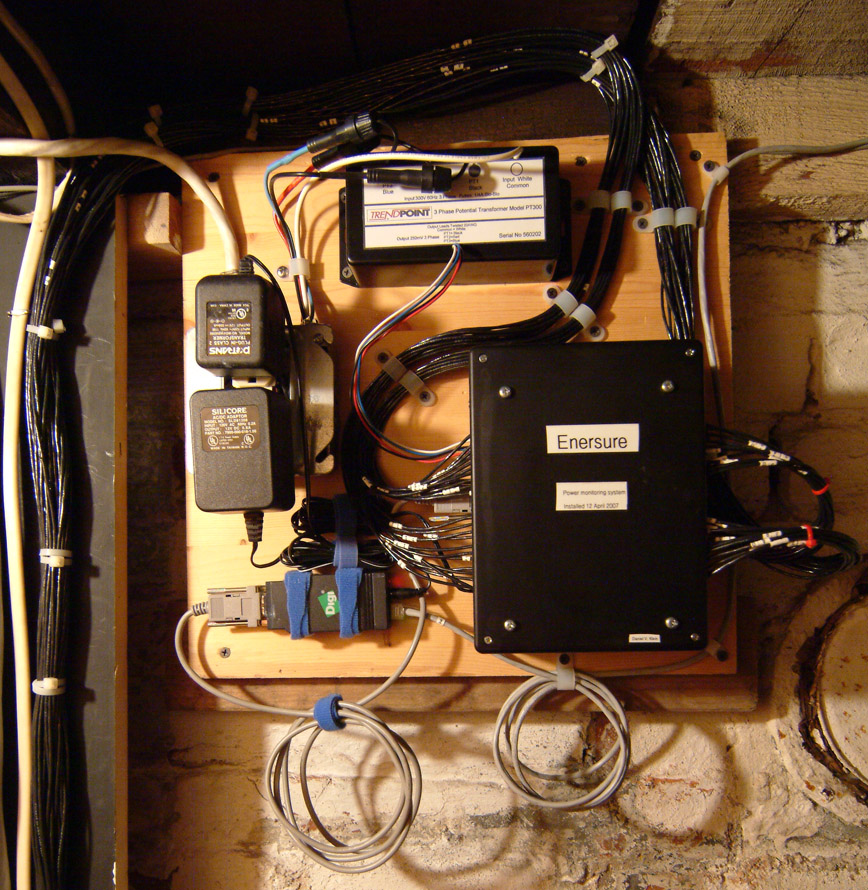
Finally, step 6: connecting the Digi One SP RJ45 port
server, plugging in the terminal blocks. Power on – no sparks –
and neatness counts!
Total elapsed time for installation: about 18 hours!
- Creating an accurate mapping of circuit-breakers – about 6 hours.
This means checking every electrical outlet and light in the house
(there are 70 outlets, 55 switched light groups, and 11 unswitched appliances,
HVAC, etc.) I now have an accurate forward map
(showing every electrical entity and the circuit-breaker that is associated
with it) and reverse map (showing the
circuit-breaker box, and listing the electrical entities each controls), plus a
table detailing which circuit-breaker is connected to which CT, and which CT is
connected to which circuit-breaker. Believe me – these are essential!
- Wiring the CTs and PT into the circuit breaker box (steps 1-3, above)
– another 6 hours. You want to be neat, you want to be accurate, and you
don't want to touch the 220VAC lines!
- Combing out the bundles of wires, adding additional number tags, collecting
them into connector blocks, stringing ethernet cable, tying everything down
– another 6 hours, plus initial software testing.
|